Everything Bagel No- Knead Bread
About This Everything Bagel No-Knead Bread
This bread is based (mostly) on Jim Lahey’s famous no-knead method from My Bread, which I’ve been baking from for over a decade. It’s the simplest, most reliable way to get an artisan-style loaf at home with almost no effort — just time. I’ve made this dough as pizza, as sandwich bread, and now as a fully flavored Everything Bagel loaf. Adding everything bagel seasoning takes the classic no-knead recipe and makes it wildly delicious: nutty, garlicky, salty, toasty, and perfect for breakfast toast, sandwiches, or dipping in soups. If you’ve never made no-knead bread before, this is the perfect loaf to start with.
Why You’ll Love It
Zero kneading required — the long rise does all the work
Bakery-style crust and chewy interior with almost no effort
Everything bagel seasoning adds big flavor with little work
Flexible rise time (12–18 hours, longer in winter)
Works with all-purpose or bread flour
Bakes perfectly in a Dutch oven
Great for toast, sandwiches, and snacking
Cleaner Ingredients!
Ingredients You’ll Need
Bread flour or all-purpose flour
Instant or active dry yeast
Kosher salt
Everything bagel seasoning
Honey
Water
Cornmeal or wheat bran (for dusting)
How to Make It
Mix flour, salt, yeast, and everything bagel seasoning in a bowl. Add water and honey, stirring until the dough is sticky and shaggy — adjust with a splash more water if needed. Cover and let rise in a warm spot for 12–18 hours (or up to 24 in winter) until bubbly and doubled. Turn the dough onto a floured surface, shape into a ball, and let rise another 2 hours. Preheat a Dutch oven at 475°F. Carefully place the dough inside, cover, and bake 30 minutes. Remove the lid and bake until deep golden. Cool completely before slicing.
Tips for Success
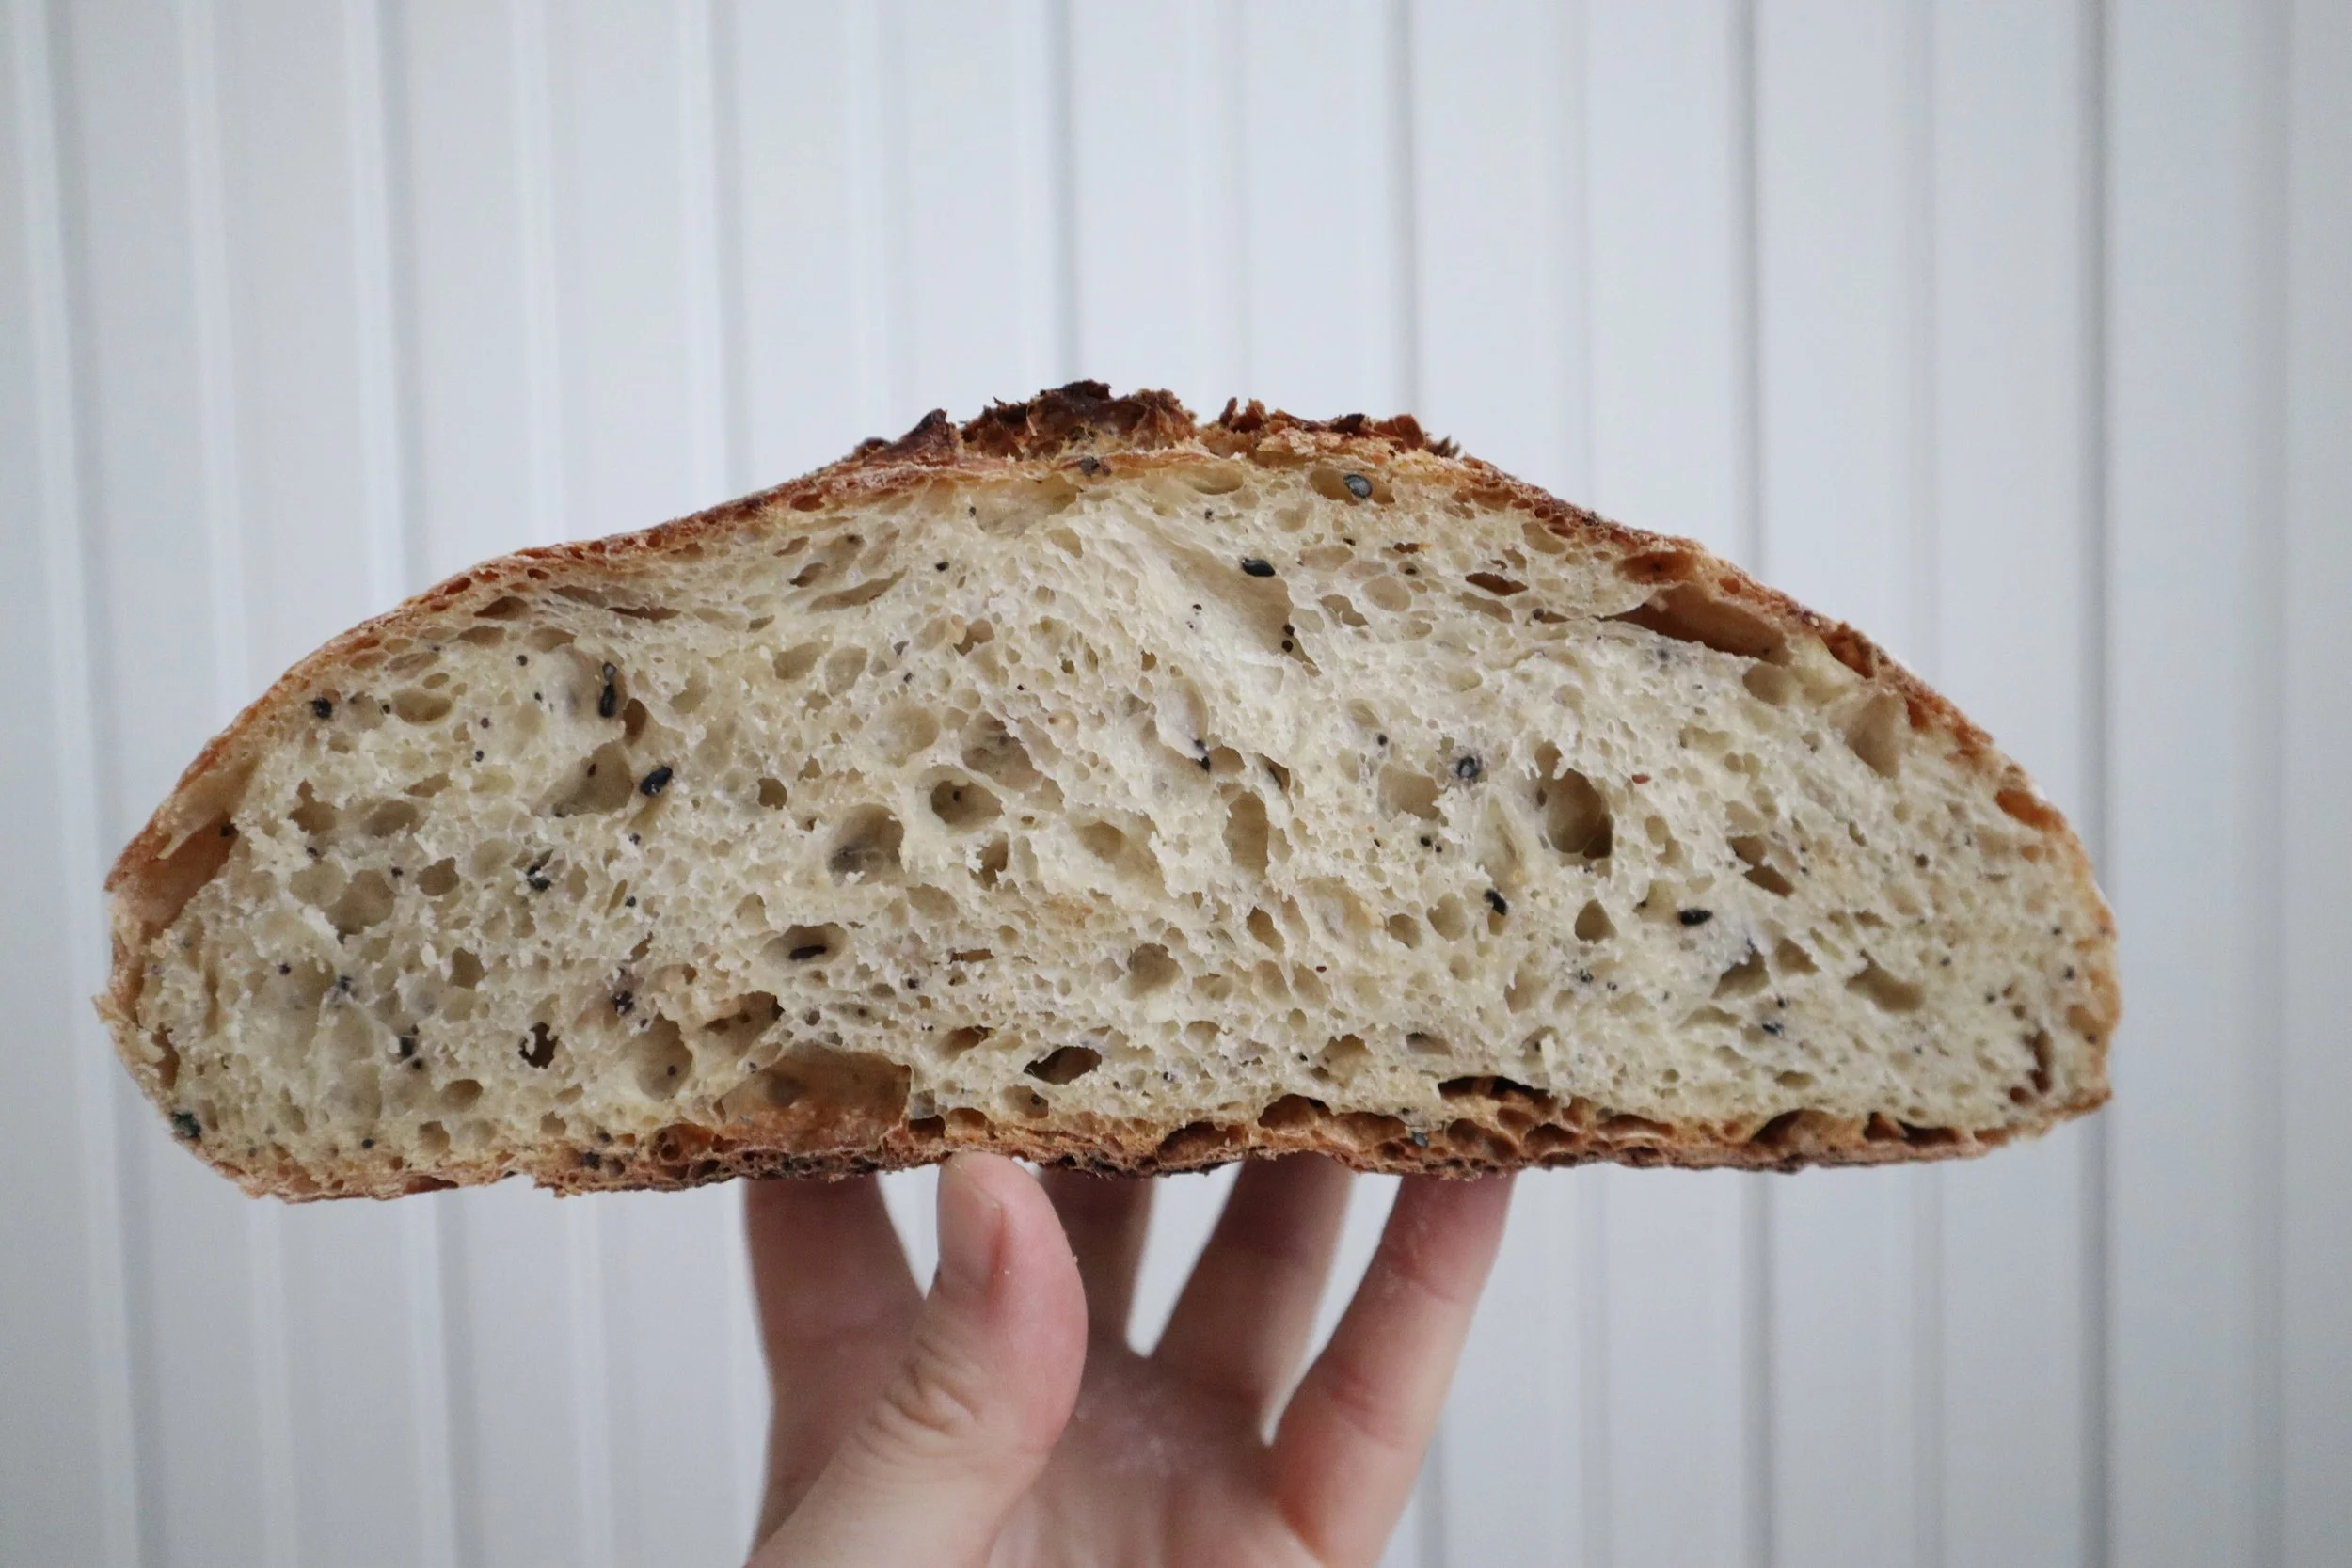
The dough should be wet and sticky — that’s the secret to a great crumb.
Use a long rise — the flavor develops over 12–24 hours.
Flour your hands well when shaping; the dough is very sticky.
Don’t skip preheating the Dutch oven — it creates the steam you need.
Score the top if you want a controlled, pretty expansion.
Let it cool completely — cutting too early makes the texture gummy.
Frequently Asked Questions
Can I use active dry yeast instead of instant?
Yes — use the same amount. No need to bloom first.
Is AP flour okay?
Absolutely — bread flour gives a chewier crumb, but both work well.
Can I add more everything seasoning?
Yes! Add extra on top right before baking.
Can I make this gluten-free?
No-knead GF bread exists, but this exact formula won’t work with GF flour.
How do I store leftovers?
Wrap tightly and keep at room temp for 2–3 days. Freeze slices if needed.
What to Serve With This Bread
Softened salted butter
Cream cheese (obviously, for the bagel vibes)
Tomato soup
Eggs + bacon
Tuna salad or chicken salad
Avocado toast
More Recipes You’ll Love
Everything Bagel No-Knead Bread Recipe
Ingredients
3 cups bread flour or all-purpose flour, plus more for the work surface
1/4 teaspoon instant or other active dry yeast
1 1/2 teaspoons kosher salt
2 teaspoons honey
1 1/3 cups water (I usually use a little more than that- 1 1/2)
3 tablespoons everything bagel seasoning
Cornmeal or wheat bran, as needed
Instructions
In a large bowl, stir together the flour, salt, everything bagel seasoning, and yeast. Add water and honey, and mix together with a wooden spoon until the dough is wet and sticky. Make sure that it’s sticky to the touch, you’ll have to keep mixing to get this texture- you can add another tablespoon or two of water to get this consistency if you can’t get it with 1 1/3 cups. Cover bowl with some plastic wrap and/or a tea towel and set in a warmer draft-free area (at least 72°F) for 12-18 hours until the dough is doubled in size and the surface is dotted with bubbles. In the winter I proof for 24 hours. The long fermentation period is what gives the bread its amazing flavor.
When your dough is looking like its first rise is complete, generously flour a clean work surface. Scrape the dough onto the work surface in one piece. When you remove the dough from the bowl it will cling in long, thin strands and will be very sticky and that is good. Flour your hands and lift the edges of the dough in towards the center. Flip it over and form the dough into a ball. Cover with plastic wrap and a tea towel or just a tea towel (not terrycloth) and let it rise for another 2 hours until the dough has doubled in size again. In the winter I’ve been letting it rise for 4 hours. If you poke the dough with your finger, it should hold the impression- if it doesn’t, let it rise for another 15 minutes.
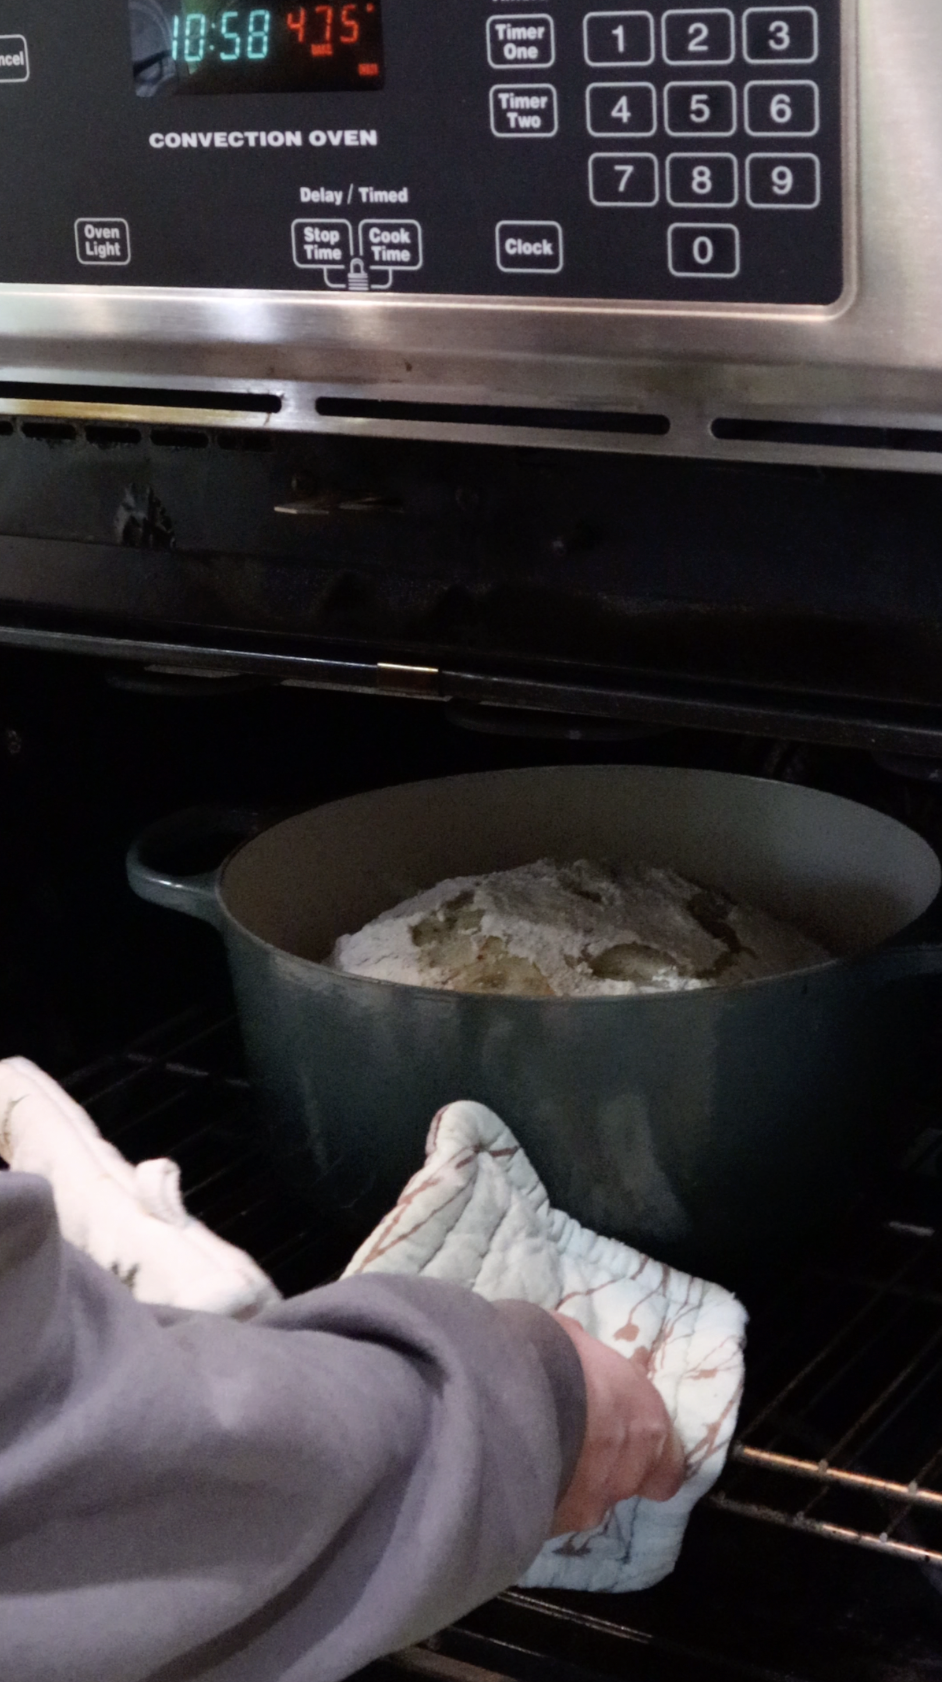
About a half hour before the second rise is complete, preheat the oven to 475°F with a rack in the lower third position, and place a covered 4 1/2 to 6 quart heavy pot in the oven.
When the dough is finished rising, carefully remove the hot pot out of the oven and remove the lid. Gently place the dough into the pot, seam-side up and cover and bake for 30 minutes. You can also score the top of the dough before placing in the oven, I like to do an unconnected square with 4 lines on top of the loaf.
Remove the lid and bake for another 15-30 minutes, until the bread is a deep chestnut color but not burnt. Using a spatula or potholders, lift the bread out of the pot and place on a rack to cool completely- do not cut the bread open until it is cooled which usually takes at least a couple of hours.